Kettle Sour: or How I Learned to Stop Worrying and Love Sour Beer

This blog was written by our member and frequent sour brewer, Ben Martin. Enjoy!

Are you a fan of sours, but don’t have the time and space to commit to 3 years? Afraid of infecting your clean brew house? Want to get out of the pale lager rut? Are you looking for a way to appease the hipster cult that lives next door? Well then this guide is for you! If not, keep reading you might learn something, maybe.

Disclaimer

This guide is simply a breakdown of the process I use to brew kettle sours on my system. I am by no means an expert. Your experiences may vary from mine. Words of warning, if you plan on attempting this, then you are making sour beer. This process limits your risk of infecting your brew house, but only if you practice good sanitation. Second, sour beer is more of an art than a science. Don’t be afraid to dump bad batches.

The Process
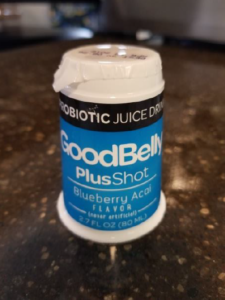
Goodbelly Probiotic Shot

Kettle souring is much like performing a normal brew day with a few added steps in the process. Equipment-wise, if you can brew a clean beer, you most likely have everything you need to brew a kettle sour. The one piece of equipment that is required/highly recommended is a pH meter. You will want to measure the drops in pH during the kettlesouring process.

Kettle souring begins like a normal brew day. Perform your mash as you normally would. Personally I brew BIAB (Brew In A Bag). I perform a 70 minute mash on an induction burner keeping my mash around 150°F. After the mash I squeeze my grain bag to free up as much wort as possible.
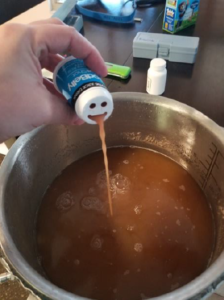
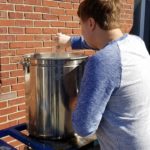
Pitching Goodbelly into wort.

The next step is the kettle souring step. During this step is the only chance to contaminate your brew house. Bring your wort to a brief boil to sanitize the wort and kill off any unwanted yeast or bacteria naturally present in the wort. After a brief boil chill the wort down to 100°F. Pre-acidify the wort to a pH between 4.2 -4.5. This will help prevent unwanted bacteria from growing in your wort and creating off-flavors. Pitch a pure lactobacillus culture and seal the kettle. Wait for the terminal or desired pH to be reached.
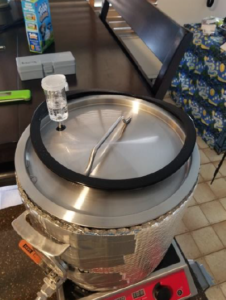
 

Anvil Brew Kettle with Ferment in a kettle gasket.

My kettle souring step looks like this; after the mash I bring my wort to a boil for 15 minutes. I then chill the wort to 110°F. I measure the pH and pre-acidify the wort to pH 4.2. During this step my temperature naturally falls to my target pitch temp of 100°F. Then I spray StarSan around the inside of the kettle and on the lid. I pitch a Goodbelly Probiotic Shot.

This contains a pure culture of lactobacillus planetarum. Then I seal up my Anvil kettle using the fermenter conversion kit. I let my kettle temperature free fall to room temperature over 3 days. By then my terminal pH, normally 3.6, has been reached.
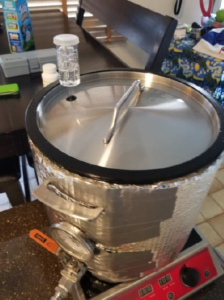
Anvil Brew Kettle sealed for souring.

After you reach your terminal pH, it is time to resume your normal brew day. Bring the soured wort up to a boil, add hops according to your recipe, chill and pitch your yeast. This boil sterilizes the batch and kills the lactobacillus. This allows you to use your clean cold side equipment for the batch. Due to the low pH of the wort, yeast will experience acid shock. It is important to note that you need a large and healthy yeast starter to pitch.
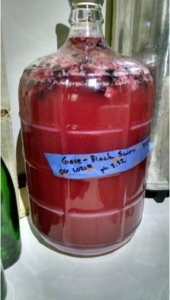
Gose with blackberries and raspberries.

The rest of my process works as such; I bring my soured wort to a boil for 15 minutes. Add a small dose of hops to reach around 8 IBUs. Chill the wort to 72°F and pitch yeast. I normally chose Imperial A20 Citrus for all my kettle sours. I then let the fermentation ride. I do not have temperature controlled fermentation. If I plan to add fruits, I will typically add them towards the end of active formation on the 5th day from pitching yeast. The fruit will sit for a week before kegging. I normally target 1-2lb of fruit per gallon.
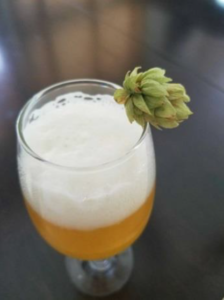
Dry hopped kettle sour with hop garnish.


As I stated, I am not an expert. There are plenty of people who know more about this than I do. Here are a few of the best sources for more information on kettle sours and sour beer in general.
Milk the Funk Wiki (This group also has a Facebook group, but if you ask a question the first thing they are going to say is read the wiki.)
The Sour Hour Podcast
The Mad Fermentationist Blog
Dr. Lambic Blog

Taxman Brewing – Circle City Zymurgy Wort Share

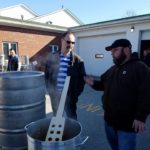
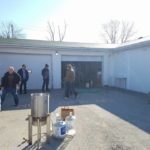
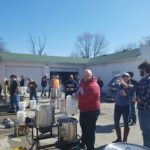
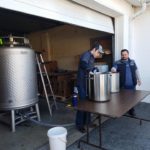
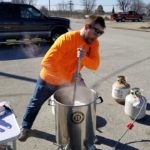
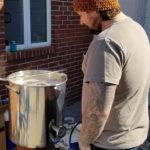
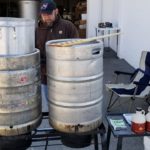
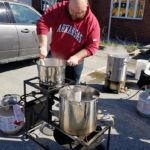
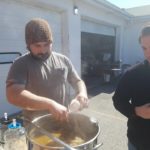
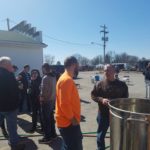
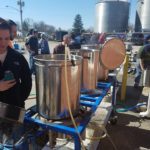
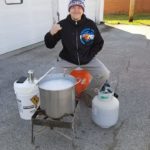
What a great day! Yesterday Circle City Zymurgy had the pleasure of joining Taxman Brewing in Bargersville for a wort share. We took the base wort for Exemption, Taxman’s Belgian Tripel, and made it our own. Altogether we had 12 homebrewers join in on the wort share in the parking lot of the brewery. In April, we will sample the different beers and choose the top six. The six winners get free tickets to Taxman’s Death and Taxes on April 21st and get to pour their beer there!

The base wort for Exemption was a great pick as it allowed us to make it into almost anything. We could choose to add extra grains, we chose our own hops, yeast, and other ingredients. A few of us chose to stick with a Belgian Tripel, some adding special/secret ingredients to make it different. We also have a black IPA, a milkshake IPA, maibock, and other styles in the making so you can really see the creativity we get from some of our homebrewers!

Most of us showed up a bit before 10:00 AM and we all had our beer into our fermenters and started cleaning up by around 2:00 PM. As you could imagine, we discussed what we were making, the Taxman beers we had throughout the day, and what we were going to do with our beer throughout the next few weeks.

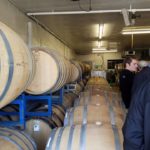
Once everyone got their equipment stored away, Colin and David walked us through the brewery. We saw a room full of a ton of “clean” beers aging in different liquor and wine barrels and a room full of sour beers also aging in barrels. We went to another building where the grainmill, brew kettle, HLT, mash tun, brite tanks, and fermenters were stored. Colin allowed us to walk up the stairs and check out the main brewing area to look at the tanks and walked us by all of the huge fermenters.

After the tour, some of us finished up by going to the taproom and sampling some more Taxman beers and got some much needed food after our brew day! The Red Wine Barrel Aged Qualified and wilf-fermented Certified were definitely a big hit among the club. A lot of us had the Barnyard Burger which had a slice of pork belly and over-easy egg on top of the burger. Delicious!

Circle City Zymurgy wishes to thank Taxman brewing and all others involved in making this happen. We had a great time!

28795510_10105513181676728_6366739154433929658_n 28782941_10105513182170738_8409643520820178531_n 28685517_1611366668900975_8354916266045839629_n 28685376_10105513182055968_1699789548593814119_n 28661191_1611366632234312_3601633315804328894_n 28661023_1611366925567616_1791439243111612914_n 28660612_1611365712234404_3404371626440156475_n 28660565_1611366978900944_7610063903661938219_n 28577794_1611365665567742_4604058326119481125_n 28577681_10105513181212658_1024565494010674925_n 28577096_10105513181347388_8160243793066047084_n 28577096_10105513181347388_8160243793066047084_n (1) 28576984_1611366458900996_2261626989549318507_n 28576407_1611366585567650_9207683190430035992_n 28576252_1611365635567745_8680180888994404326_n 28575815_10105513181871338_413962081923637286_n 28575645_10105513182270538_6790627329028908612_n 28472230_1611366812234294_4169166761056349981_n 28472205_10105513182395288_164406391338882854_n 28472105_10105513181507068_4618671197025056082_n 28471920_1611366778900964_4056155444691900366_n 28471779_10204425594877196_4242022728448432407_n 28471731_1611365792234396_8788703623828428458_n 28471643_1611365992234376_9072271128636204603_n 28468682_1611366275567681_169544183393087111_n 28468156_1611366895567619_4329821839413840464_n 28468143_1611366395567669_5228542582740651560_n 28467826_1611366705567638_5953650289821105525_n 28379639_1611366185567690_1086339522641102575_n 28379545_1611366085567700_7057824709397429410_n
<
>

Guide: Obtaining Your Permit to Pour at Festivals

Want to pour at a festival? Great, its a lot of fun! There’s just a few quick steps that you need to do about a month in advance. Although everyone’s ID is checked at the entrance, you do still need a permit to legally be able to pour beer. It just takes filling out a simple form, a little bit of money, and then a few weeks to process. Here’s how to get started.

First, go to this link and click continue under the steps for a new registration. Fill out the form completely. Everything here is pretty self explanatory. Once you fill out the form, sign in with the login you just made. Click initial application on the left side of the screen and fill it out as follows:

A few notes come up before proceeding. They are as follows:

  • Completion of Server Training is required within 120 days of issuance of this permit. You will have the opportunity to complete Server Training online after this application is submitted.
  • An Operating While Intoxicated (OWI) Check of your BMV driving record is preformed on every application. Please allow 24 – 48 hours for the check to be preformed before your application is complete. You can use the receipt from this online application for 60 days to work until your permit arrives in the mail.
  • The total fee for this application is $18.87 ($15.00 Application Fee + $3.87 in processing fees.)
  • You will need to print your receipt at this time. If you do not print your receipt at this time, you will not be able to print it at a later time.
  • For additional information, please visit the Alcohol & Tobacco Commission web page.

Once you proceed again, just confirm your mailing address and hit continue. There is a set of 10 very easy questions that you need to answer. Fill these out and then continue. There will then be a final page that says “Pay Fees and Submit”. Proceed with paying for the permit. As stated above, print out your receipt and you can use this for 60 days or until the permit arrives in the mail.

Now that you have paid for your permit, you need to complete your server training within 120 days. You can start your training here. Simply sign in using the last four numbers of your SSN and your birth date. The training is very simple but can take upwards of 30-60 minutes so be sure to pay attention and have the time for it. Be sure to print out the certificate of completion and keep it in a safe place.

That’s it! Now it is just a waiting game. It typically takes about 2-4 full weeks to receive the actual permit in the mail. There really is no communication between when you pay for the permit and receive it, just a confirmation of payment and then you receive it in the mail so be patient! In the meantime you can use your receipt if you printed it out.

Happy pouring!