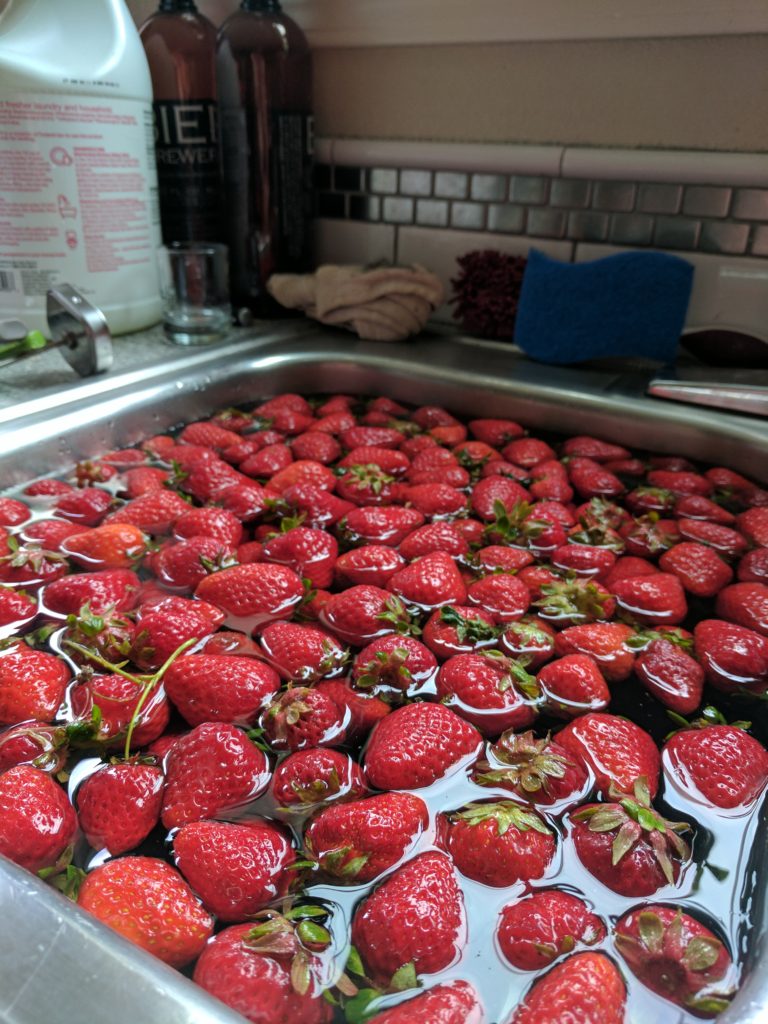
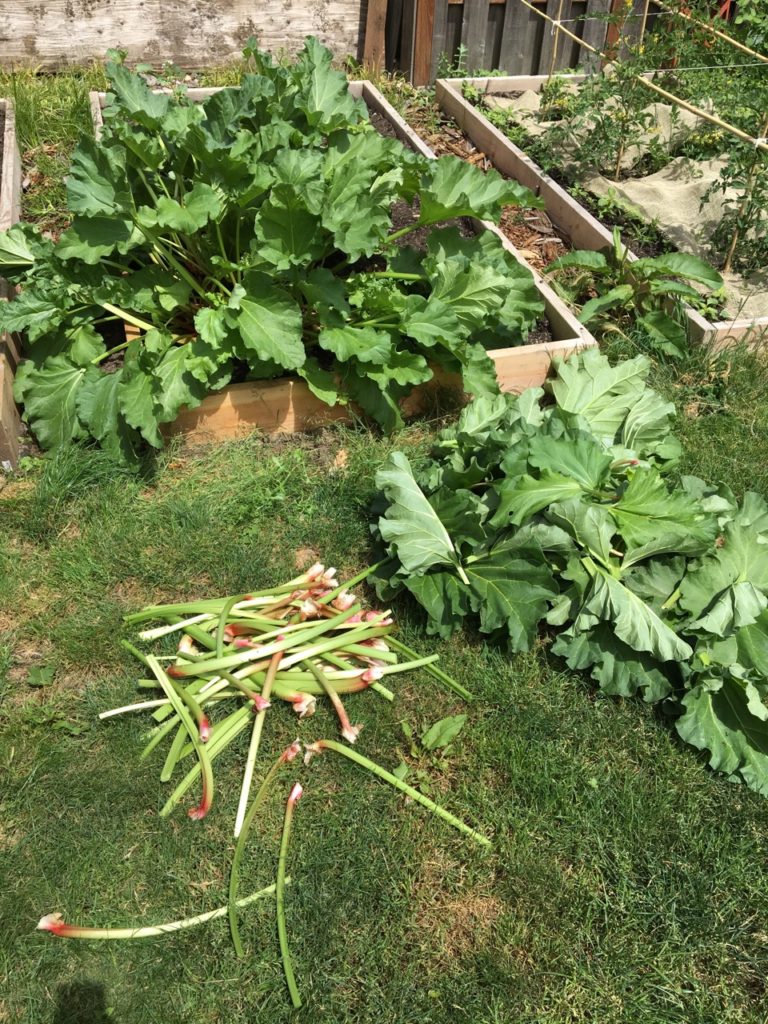
I recently came into possession of 5lbs of fresh garden grown green rhubarb and wanted make a special batch of mead this summer. I’ve been trying to hone in my mead making abilities and thought that a strawberry rhubarb melomel may be the best way to use all of this fresh rhubarb. Now all I needed were a few extra ingredients. I picked up a case of fresh picked organic strawberries and some fresh spring harvest honey from the Canby berry farms South of Portland at the local farmer’s market. The honey was light and had a slight brightness to it that I think will pair perfectly with the fruit.
Step 1: Wash the fruit, chop, vacuum seal, and freeze. I filled the kitchen sink with a mixture of distilled white vinegar and water to wash the fruit (1 cup of distilled white vinegar to 8 cups water) using a brush to gently scrub everything. Some people include dish soap into these washes, however I do not do this. Fruit washes in a vinegar solution are a great way to extend the life of your fruit as it kills off native yeast, mold, and bacteria on the fruit. Once washed, I rinsed the fruit and started cutting it into smaller pieces. I cut the strawberries into halves and chopped the rhubarb into 2 inch pieces and weighed them. I used 3lbs of strawberries and just under 4lbs of rhubarb (which approximated to the same ratio I found in a strawberry rhubarb pie recipe online). I then threw them into vacuum sealed bags and froze them. Looking up pie recipes inspired me so much that I plan on making my next batch of mead using whole fresh baked fruit pies (cherry pie, huckleberry cobbler, or possibly even blueberry pie).
Step 2: Thaw fruit and refreeze This step is something I’ve only recently started doing. By freezing, you burst the cell walls of your fruit which makes juice more available. By freezing twice you further break up the fruit. Once it has thawed a second time, the fresh fruit now has a consistency of canned peaches.
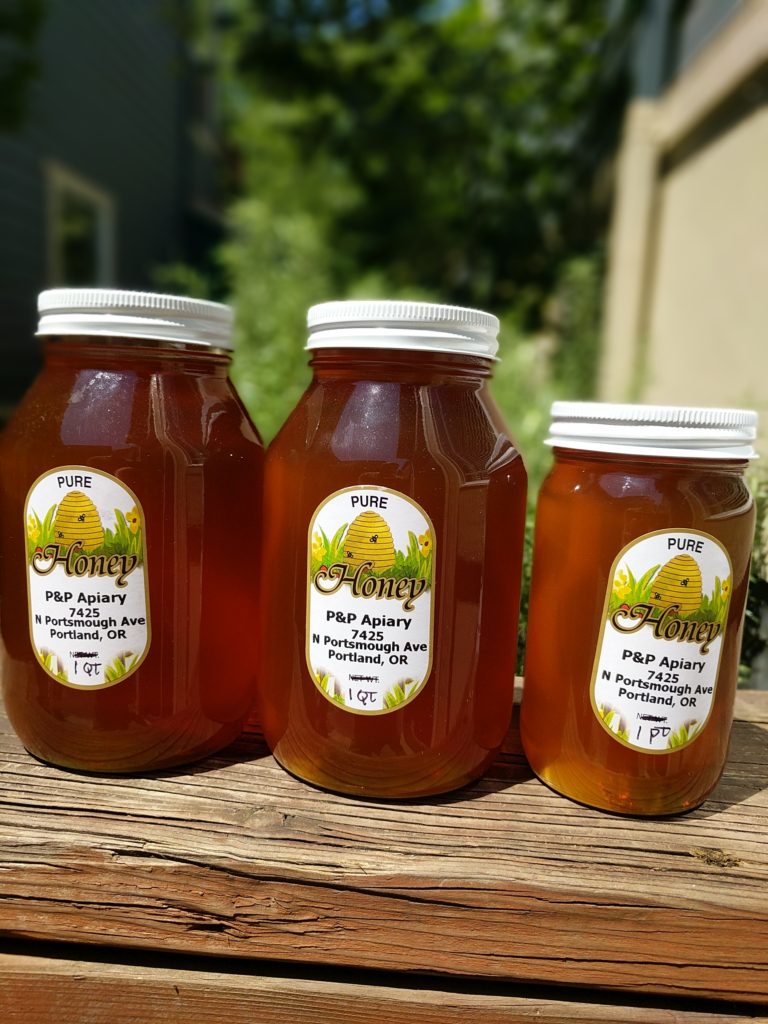
Step 3: Thaw fruit and prep for brewday. Measure out yeast energizer, yeast nutrient, and pectic enzyme for 3 gallons of finished melomel and place them into a small bowl. I use half the recommended amount of yeast energizer and nutrient so that I can add more a few days into fermentation. Prep a rinse bucket and sanitizer bucket for your brew station. Set up brewing kettle and burner, measure out 5 gallons of filtered water, and set up your cooling workflow (I run a chugger pump into a counterflow wort chiller to quickly zapp the boiling liquid down to fermenting temperature and push it directly into my primary). Because I’m working with honey, I placed these beautiful jars of fresh honey in the sun to heat up and become less viscous (100°F outside today in Portland, OR. Ouch…).
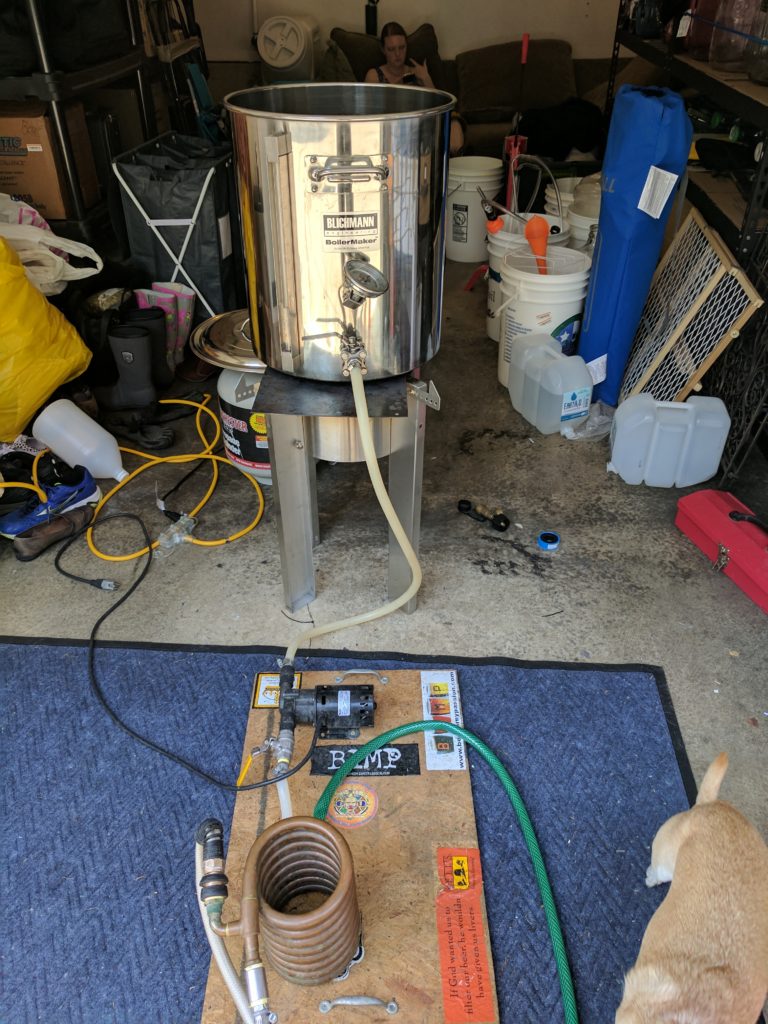
Step 4: Test the system with boiling water to sanitize and work out any kinks. Once your water is boiling, cut the propane on your burner and connect your chiller setup to the ball valve on your kettle. Open the valve and let it flow into your chiller. I power on the chugger pump for a few seconds to help start the siphoning process into my chiller before turning it off and letting gravity drain the water level down to 3 gallons. Once it’s reached 3 gallons close the ball valve on your kettle. Running boiling water through your chilling setup ensures that you are killing any yeast, bacteria, or mold that may be housed in your equipment.
[WPGP gif_id=”1093″ width=”600″]
Step 5: Pour in your honey and stir to dissolve it into your heated water. My preheated honey pours just like warm motor oil. Make sure your heat is off while stirring in your honey to prevent scorching the sugar. I used a ratio of 2.5lbs of honey per gallon of water for a total of 7.5lbs of honey that will finish out at around 10.6% ABV (If I were to do this again I would have used 1.5lbs of honey per gallon to bring the ABV down to around 6-6.5% ABV).
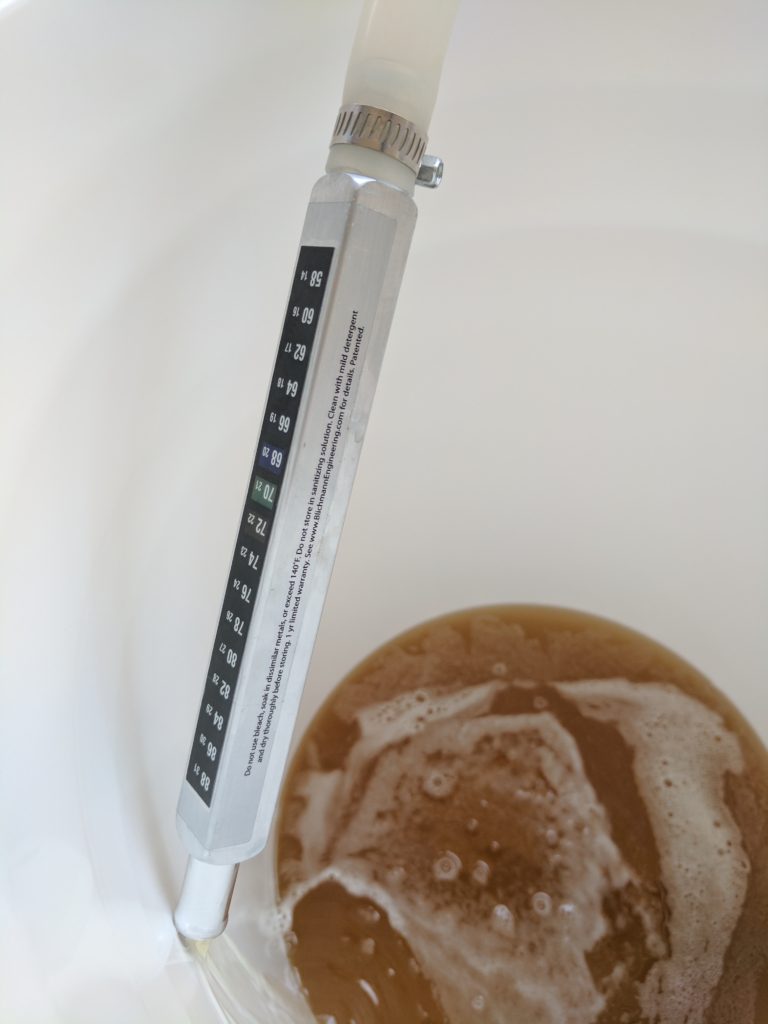
Step 6: Chill your mead down to fermenting temperature and clean. I kick on the hose pushing water through my counterflow wort chiller, open up the valve on my kettle, and then power on my chugger pump. This draws my mead into my chiller and out of the system after passing through my Blichmann Thrumometer. I can adjust the temperature of my cooling mead by adjusting the kettle valve on my pot or the additional valve installed after the pump just before the chiller. This slows the flow of the mead while in the chiller which increases the contact time with the copper cooled by the water in system. I pumped my mead into my primary at 70°F.
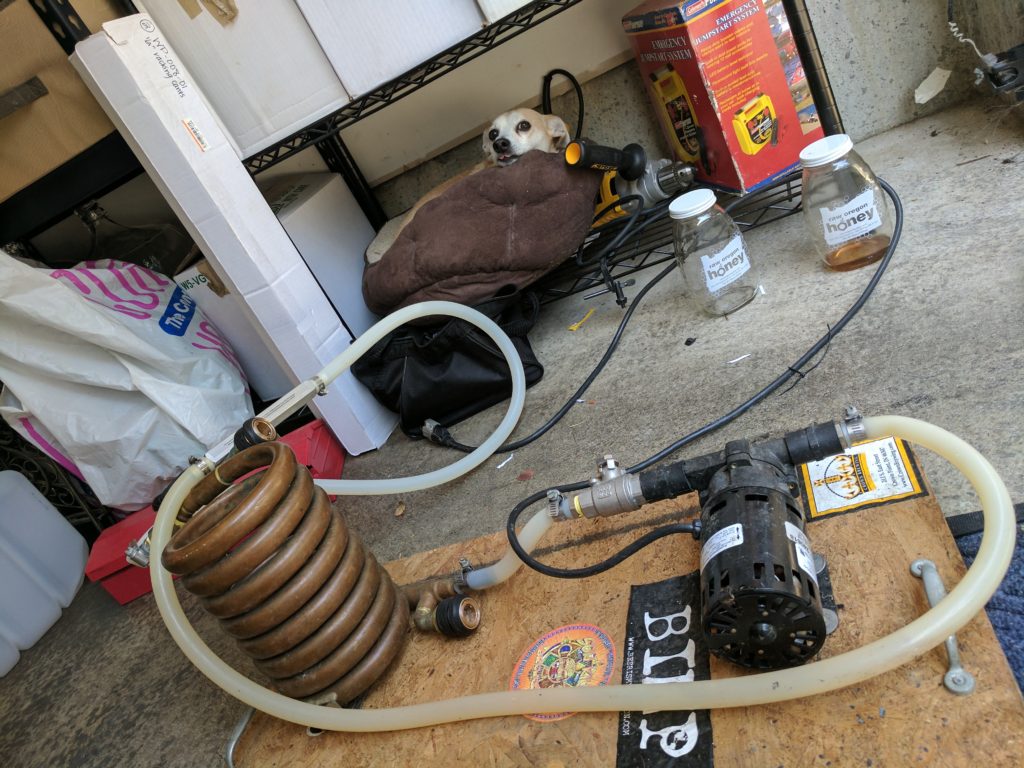
Now that the brew day is over it’s time to clean. Make sure to scrub down your equipment, rinse, and dry everything. I also run additional boiling water through my chiller one last time to clean the inside of the chiller and heat up the copper to stave off bacteria before closing off the system. As you can see, I have Pedro’s approval that all is clean and ready to be packed away.
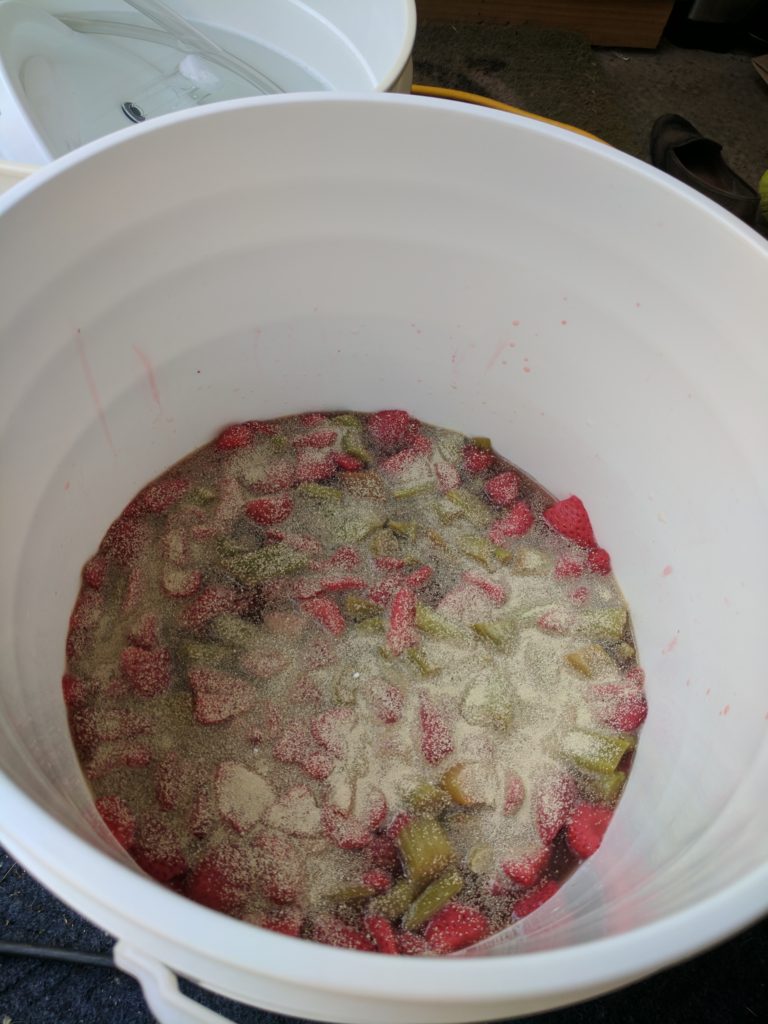
Step 7: Add your fruit and pitch your yeast. Now that you’ve transferred all of your mead into your cleaned and sanitized fermenter, add your fruit. Give the mixture a stir and take a gravity reading. The mead I made today was 1.080. Pitch your yeast on top of your fruit along with your nutrients and pectic enzyme. I use half the recommended amount of yeast energizer and nutrient, and add the other half after about 4-5 days. This helps provide the yeast with nutrients that it needs to continue powering through all that sugar. You can add the whole recommendation of pectic enzyme though. You want as much pectin to settle out as possible during the fermentation process to improve the clarity of your finished mead. There are a lot of different yeasts you can use for mead. Red Star Pasteur and Lalvin EC-1118 are both champagne yeasts and will ferment out dry without too much characteristics from the yeast itself. Wyeast Sweet Mead or Dry Mead are two liquid options that I’ve had a lot of luck with in the past. Today I’m using Mangrove Jack’s MO5 Mead yeast.
Step 8: Ferment. When I make beer/cider/wine I like to make sure I give the yeast plenty of time to do its thing. Don’t rush your mead through the system. The more times you open your fermenter, the more you expose it to Oxygen which will oxidize your finished product. That said, your mead is actively fermenting in the first 3-5 days. That’s a perfect time to throw in the rest of your yeast nutrient. Once you’ve done that, leave it alone for at least a couple of weeks at the proper fermenting temperature and then take a gravity reading. If the mead still has a way to go give it another week. Your final gravity should be 1.005 or lower. This will ensure it is not too sweet and ensures that the yeast has finished fermenting. If you are higher than 1.005 that is ok, it will just be a little on the sweet side.
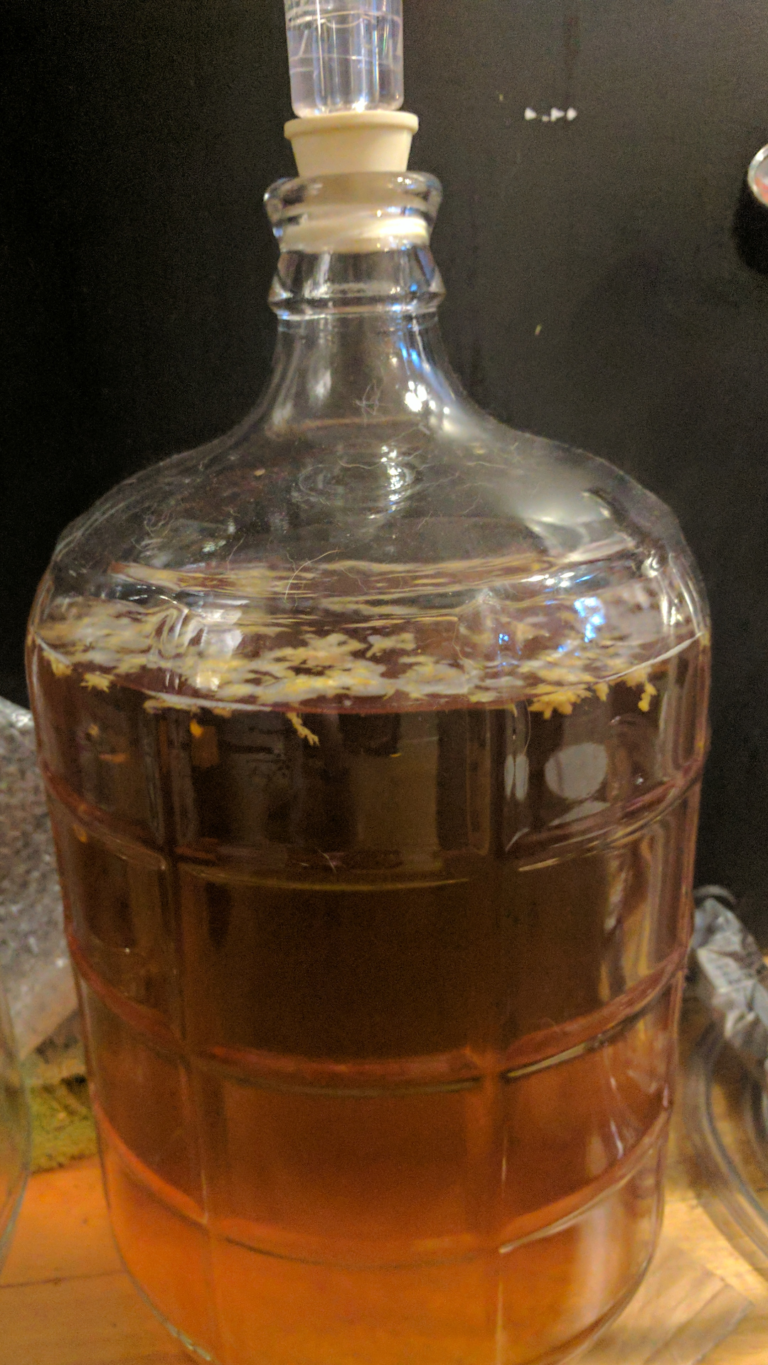
Step 9: Rack your mead off the fruit and store in glass carboy for aging. Unfortunately this step can get a little messy. Above is a picture of a nectarine mead I recently racked into a 3 gallon glass carboy. The nectarines were so mushy they were easily pulled up into my racking cane and over to the secondary. It’s not the end of the world, but I’ll likely rack over to another carboy to remove the rest of the fruit and sediment. When racking your mead off of the fermented fruit, use extreme care. Your fermenter will likely have fruit still floating on top, and yeast accumulating at the bottom. You want the good stuff in the middle. Before you start transferring your mead over to a sanitized carboy I would recommend using a sanitized spoon to remove the floating fruit. Use care to not stir up the yeast at the bottom of the fermenter while removing the fruit. Transfer the mead over to glass with an autosiphon and age in glass. Over time you will notice that your mead will start clarifying, and yeast/fruit particles that will start settling out. If you are a stickler like I am you will likely rack your mead over to another carboy to further clarify your mead. Another thing to note is that I purge out the Oxygen in my fermentors when I open them up with CO2 from my kegging system. It’s a great way to decrease oxidation from taking root.
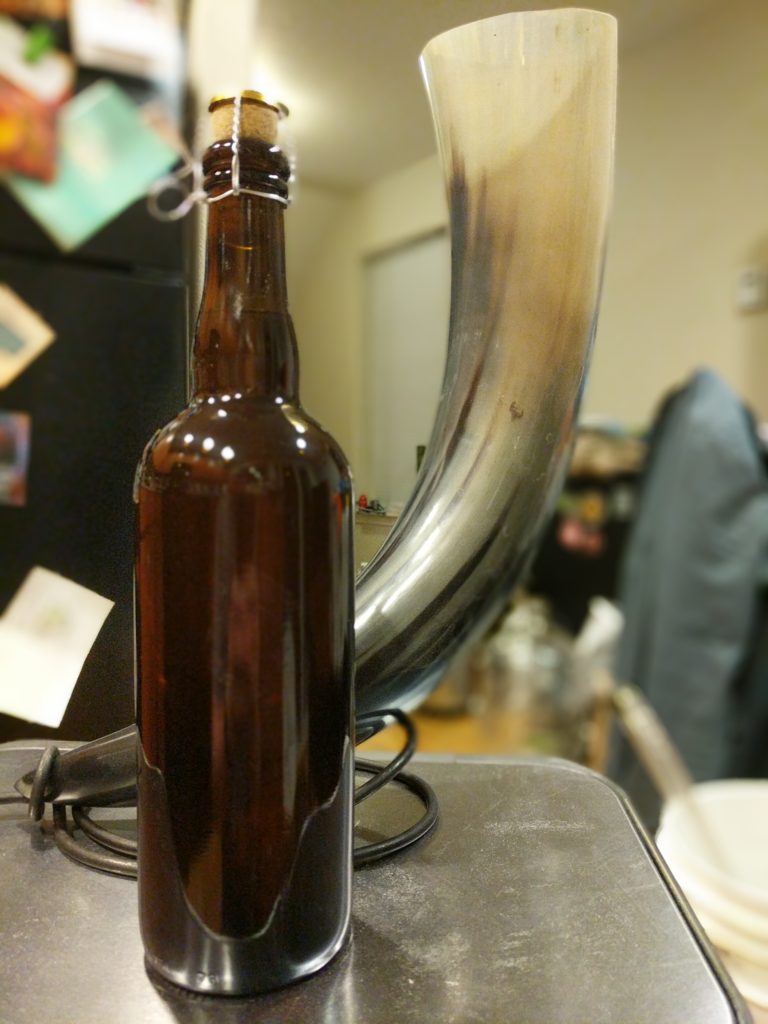
Step 10: Keg or bottle your mead. I prefer kegging my ferments as I can bottle directly from the keg using my Blichmann Beer Gun. This allows me to purge CO2 from my bottles before corking/capping my bottles. There is nothing wrong with bottle conditioning, however I prefer to force carbonate over conditioning in a bottle. You have officially made yourself some delicious mead! Chill and serve in your favorite glassware or in my case a fancy 2L drinking horn.
Mead has been made for thousands of years. Don’t feel like you have to buy a bunch of equipment to make it. I’m literally using equipment that I have accumulated over 10+ years homebrewing. Make sure you are using the freshest ingredients you can find. Use good sanitation practices. I would suggest using a glass carboy to age the mead in. Tuck your mead away and forget about it for a year (although make sure to keep the airlock filled) so that it can mature. I’ve found that cider and mead that have been aged for one year are much better than “hot” mead that was rushed into a bottle. Consider aging some of your mead with liquor soaked oak cubes or maybe even adding some other microbes to the mix to create new and exciting flavor combinations. You can even blend finished meads together with cider or fruit wine!


